Everyone want to work with both the operating system, Mac OS X and Windows. But you are no in condition to afford two OS. So you stick with one either Windows or MAC OS X. Thanks to technology and friendship of Bill Gates and Steve Jobs you can run Windows on MAC OS X. By using the feature called Boot Camp in Apple’s computer you can easily install Windows on MAC OS X. Take this guide step by step and you learn how to run Windows on MAC OS X.
How To Install Windows On MAC OS X
For installation of windows on MAC, you’ll have two different methods. First by using default MAC’s Boot Camp or By using Virtual tools with third party applications. There is a slight difference between both of the methods that you can run simultaneously two of the operating system in a Virtual application, but your system’s speed gets low and in Boot Camp you have to restart every time to change the operating system you want to work with.
One thing to remember before getting further, you’ll need to repartition you Hard derive for Windows installation but its faster than Virtual tools you wish to use for installation. For officials Click Here
What You’ll Need For Install Windows On MAC
- First of all, you’ll need a Windows 8, 8.1 or Windows bootable DVD or an ISO image file in a flash drive.
- A MAC after manufactured in 2006 because after 2006 MAC has Intel chipset in their computer
- If you want to run Windows 8 or Windows 10, then you have to use MAC after manufactured in 2009 because Windows operating system needs files for better working which only come in after 2009 version of MAC.
- You’ll need Boot Camp Assistant Application that comes default on MAC computers.
Follow This Steps
STEP 1 : Insert a Flash drive containing an ISO image file of the Windows installation.
STEP 2 : Open Boot Camp Assistant by pressing Command + Space, Type Boot Camp and press enter.
STEP 3 : You’ll need an extra Flash drive from which you Boot Camp copying windows file from ISO make a bootable drive.
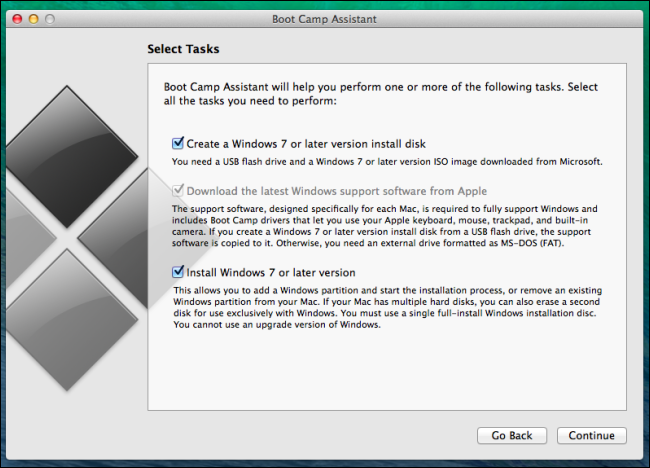
STEP 4 : Click all option checked, on Boot Camp Window. better not mess with MAC.
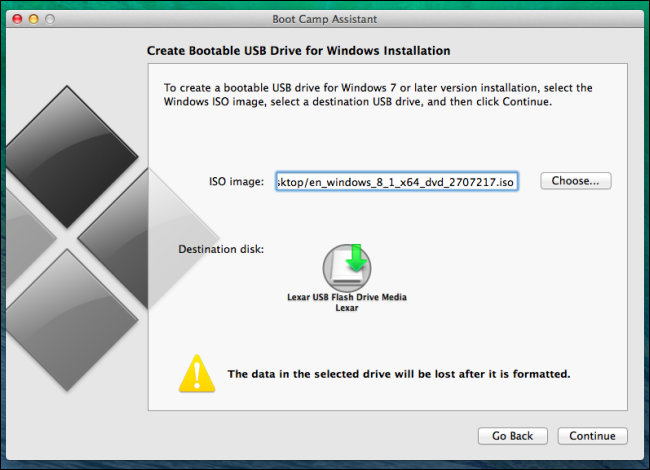
STEP 5 : Now point your MAC at the ISO files and second USB flash drive and select it.
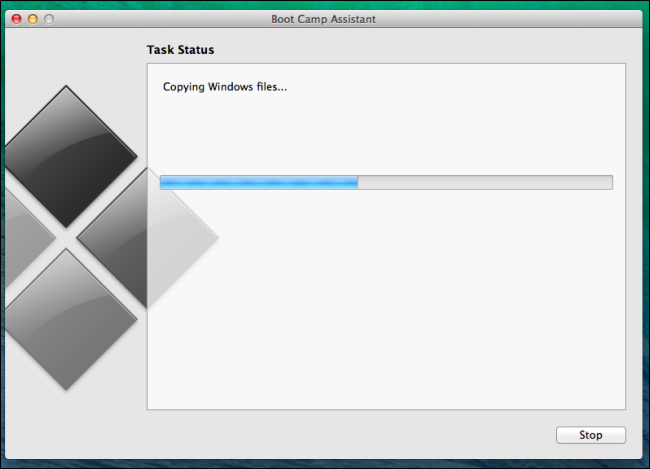
STEP 6 : This step take a few minute for copying windows files, as your Mac creates the Windows installer drive it will need.
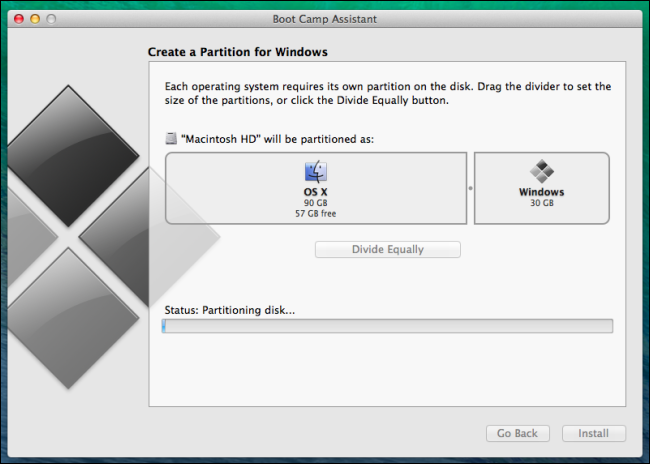
STEP 6 : After your MAC finishes creating a USB installation drive you’ll see the partition screen. Now you can divide your system drive into two separate partitions.
STEP 7 : Click on install button and Boot Camp will resize your MAC OS X partition.
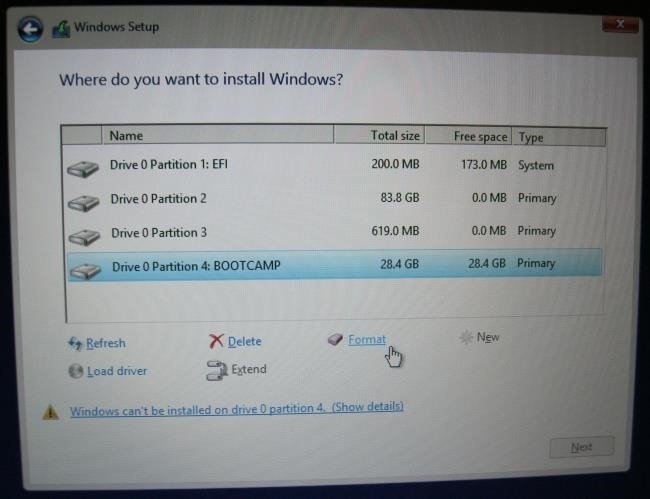
STEP 8: Select the partition labeled BOOT CAMP when you reach ” where you want to install WIndows ?. Click format option to format the partition as NTFS and then click continue.
FINAL STEP : Now you’ll see WIndows Finish Installing. After Boot Camp installer will appear when you finish installing new operating system.
The Boot Camp Control Panel
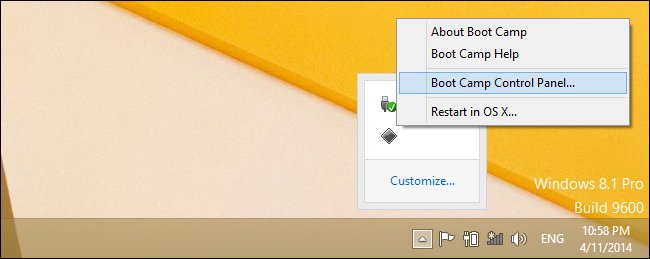
You’ll find Control panel in your system tray after installing windows. Click the up arrow in your system tray to view your Boot Camp icon ans select Boot Camp Control Panel to open it.
Hop you find what are you looking for, if not. Then comment down below your query and we’ll get back to you in no time. Till then Happy surfing 🙂


")